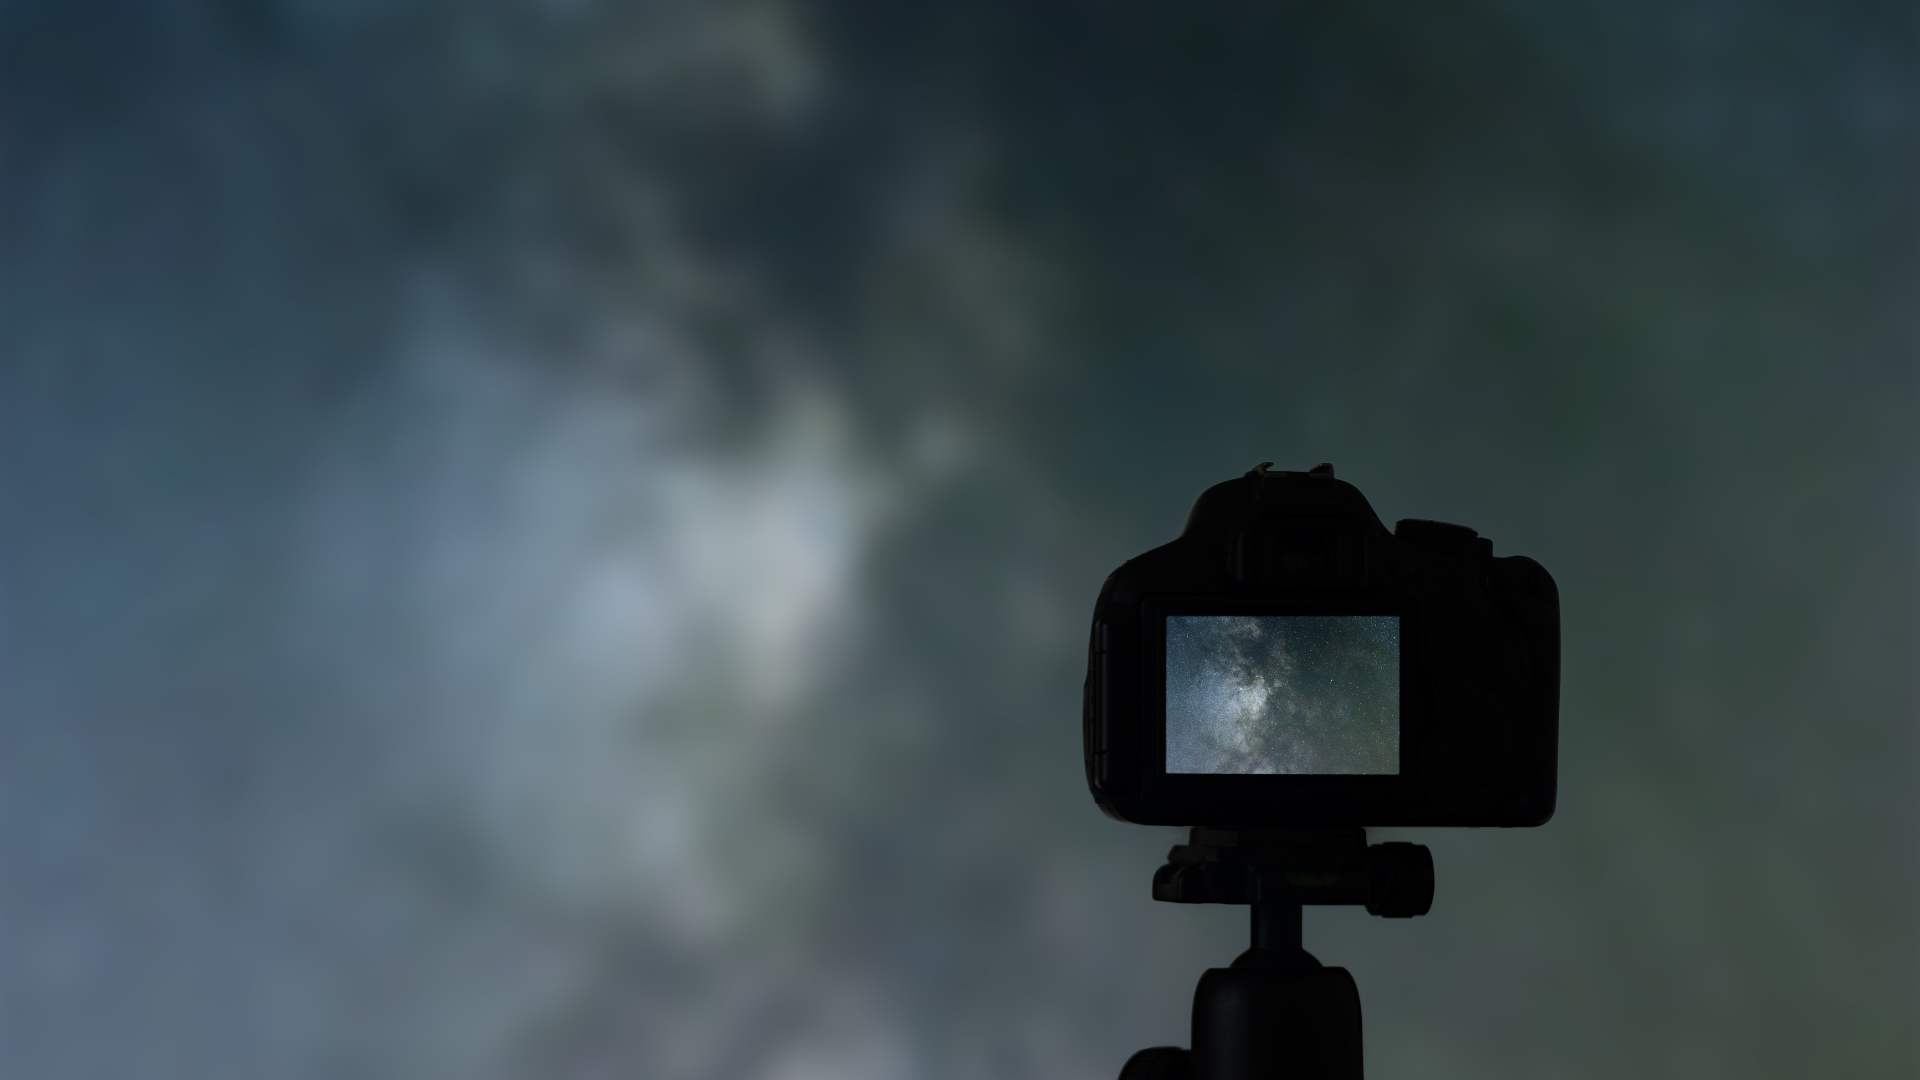
Night photography is a great way to capture fantastic images of landscapes, cityscapes, and other iconic scenes that would be difficult or impossible to photograph during the daytime. In this blog post, we’ll outline the basics of night photography, including tips for capturing stunning photos without using a lot of light. By the end of this guide, we’ll be ready to start snapping pictures at night!
Choosing the Right Equipment for Night Photography
If we’re thinking about shooting night photos, there are a few things we’ll need to equip ourselves with. Here are some basics:
- A camera that can shoot in low light. This doesn’t necessarily mean we purchase a high-end camera but something capable of capturing good images in dim lighting. A good option is an entry-level DSLR like the Canon Rebel T6 or Nikon D3200.
- A tripod. This is critical for avoiding shaky shots and keeping our camera still while taking long exposures. A good tripod that will work well in low light is the Joby GorillaPod SLT QLBD (shown here).
- A flashlight. A flashlight can be very helpful for checking exposure and framing in dark areas. The Princeton Tec Spot Light II is a good fit because it has several brightness levels and a built-in red light for focusing in low-light situations.
Getting Familiar with the Camera Settings for Night Photography
When planning to take night photos, we must be familiar with the camera settings. The ISO setting determines the sensitivity of the camera sensor and affects how much light the image will capture. A high ISO number means more noise in the photo, but it can also result in more details in the shadows and brighter areas. For night photography, keep an ISO setting below 20000 to avoid too much noise.
The camera’s shutter must be open for a certain amount of time, which is determined by the shutter speed. The activity in the photo will be frozen when using a shutter speed of less than 1/1000 of a second. In contrast, motion blur will be more dramatic when using a shutter speed of several seconds.
The depth of field is affected by the aperture setting, which controls how wide or narrow the lens opens. Narrower apertures (like f/8) let in less light yet preserve detail in the background and foreground, while wider apertures (like f/1.4) let more light into the camera for sharper shots.
Flash photography can be helpful when shooting at night because it creates an artificial light that can help gauge exposure and focus on the subject. We can set it to automatic mode or use one of the flash options available on most cameras, including built-in off-camera flash syncing capabilities.
Shooting in RAW Format for Night Photography
If we’re new to night photography or want to take our photography to the next level, shooting in RAW format is a great way to do just that. The camera’s sensor records a range of information that can be utilized to enhance the photos in the RAW format. This includes information on the colours and lighting in the surroundings, which can be used to take breathtaking photographs at night. Another advantage of shooting in RAW format is that we have more control over how the photos are processed. This means we can adjust settings like exposure and contrast without worrying about affecting the photograph’s overall look.
Capturing Light Trails and Other Dynamic Night Scenes
In night photography, capturing light trails and other dynamic night scenes can greatly add interest and excitement to the images. To create a light trail, we’ll need to allow enough time for the light source to move across the photo sensor. Shutter speeds that are too fast will cause the trails to become blurry, while slower speeds won’t capture enough of the movement. If we’re using a hand-held camera, keep the camera steady by using a tripod or another stable object as support. This will help reduce the chances of camera shake causing blurry trails.
While it’s not always necessary, how brightness affects image noise will help us control exposure properly when capturing light trails and other night scenes. Bright areas tend to contain more noise than darker areas, so pay close attention when adjusting settings. We can also experiment with different lighting setups and compositions. Playing around with different angles, distances, and light sources allows us to create unique and exciting photos that showcase night photography.
Post-Processing Techniques for Enhancing the Night Photos
There are several post-processing techniques we can use to enhance the night photos. One popular way to reduce noise in night photos is to use noise reduction software. This software can remove unwanted background noise and create a clearer image. Selecting the right software for the task at hand is essential to get the best results.
Another common post-processing technique is adjusting colour levels. This can be done in various ways, such as adjusting individual colours’ brightness, contrast, and saturation. It can turn images more realistic and allow them to stand out more against dark backgrounds.
One final post-processing technique we can use is to add effects such as shadows or highlights. This can add interest and visual impact to the photos, making them look more professional overall.
Capturing Stunning Nighttime Shots
This beginner’s guide to night photography is designed for anyone who wants to take stunning photos of the stars and planets in the night sky. Following these simple steps, we can capture unique images of the moon, planets, and stars using the camera’s built-in light or a remote shutter release. With just a little practice, we’ll be able to capture beautiful nighttime shots that can amaze our family and followers.

