We need a high-quality underwater camera if we want to take stunning pictures of aquatic life. But that doesn’t mean we have to go out and spend a fortune on one – plenty of affordable options out there. This blog post will show us how to take amazing underwater photos with just about any camera we might have. So whether we’re a beginner or experienced photographers, let’s read on for tips and advice on taking great underwater photos!
Choosing the Right Equipment for Underwater Photography
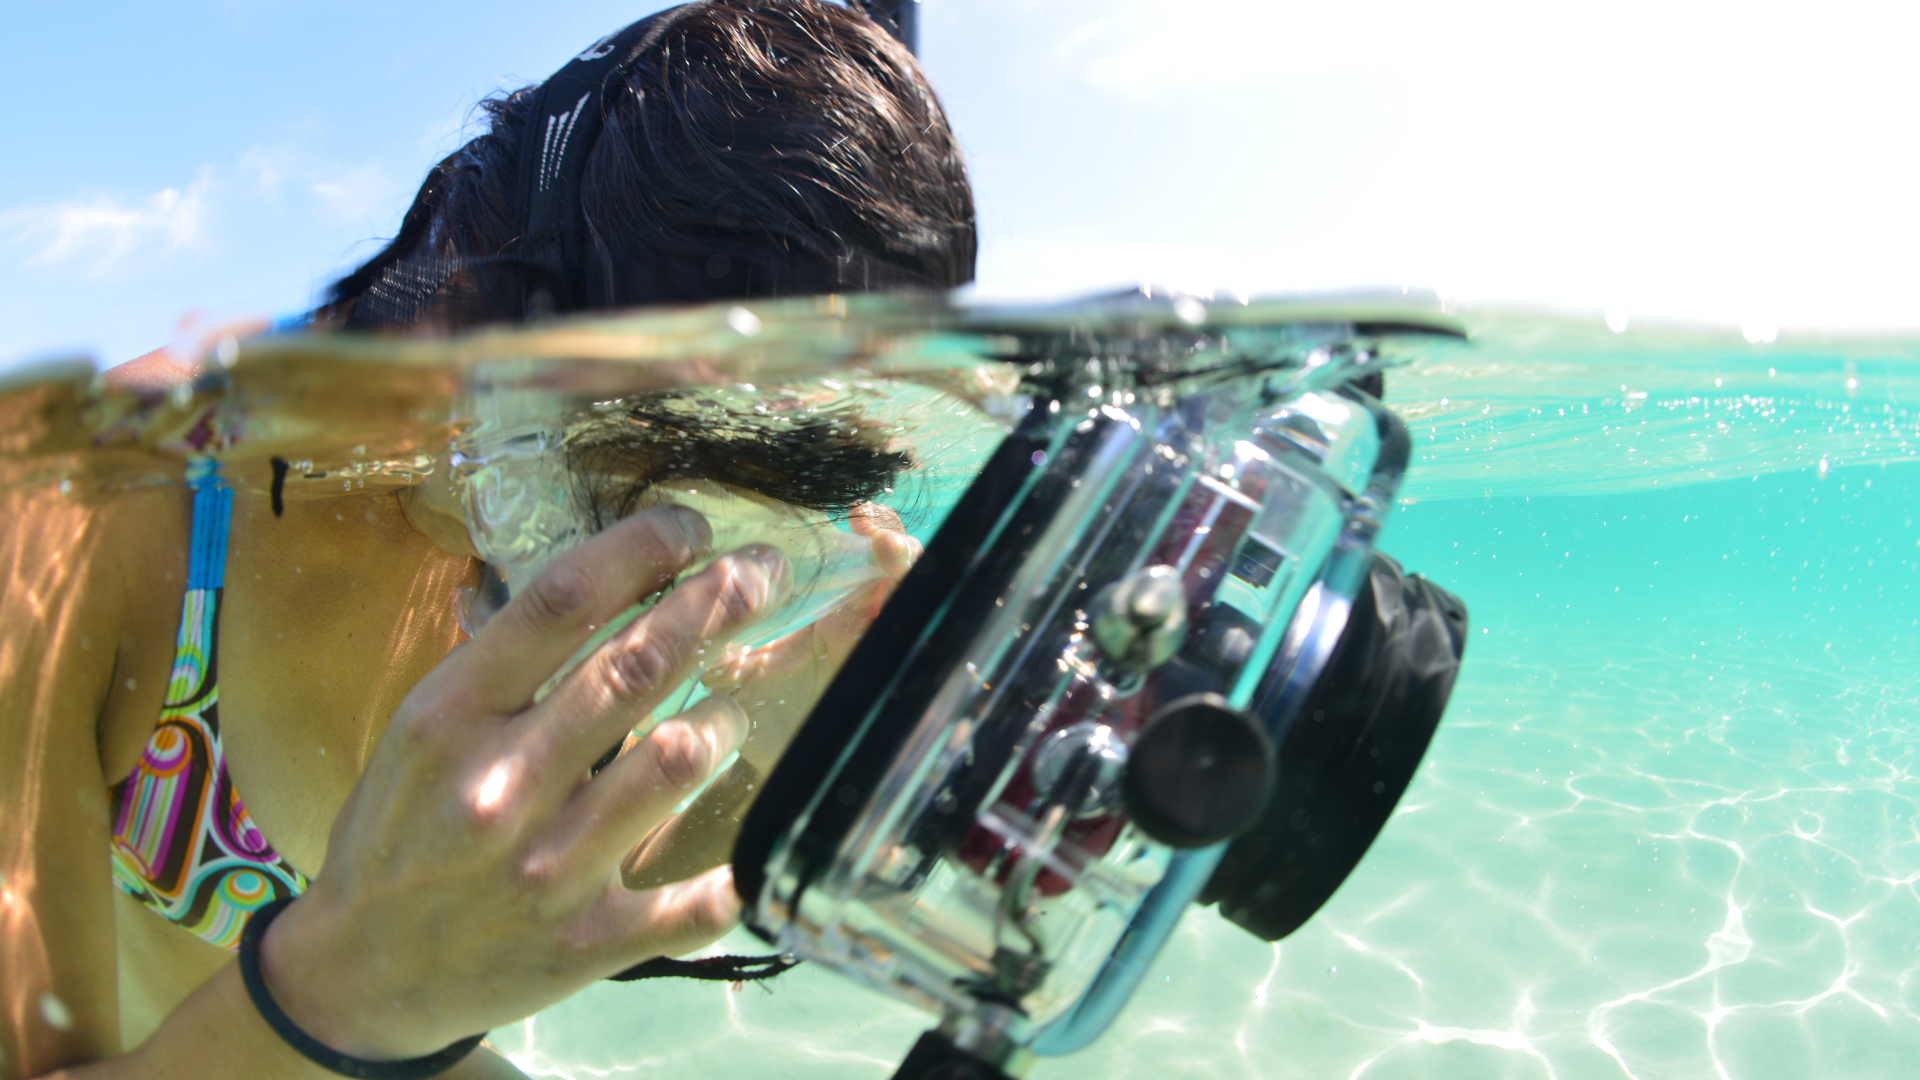
Underwater photography is a great way to capture stunning images of aquatic wildlife. We must have some equipment to get started, and there are a few things we’ll want to keep in mind.
- The first thing we’ll need is a camera. Underwater cameras are completely up for grabs, but choose one with good zoom capability for the best results. A wide-angle lens will give us more scene coverage, while a telephoto lens will let us take close-up shots of specific objects or animals.
- A flashlight is also essential for underwater photography. It’ll help us see in the dark and photograph objects that are difficult to see with our camera’s lens. Make sure to bring an extra battery charger as well!
- The tripod is another essential piece of equipment for underwater photography. It will stabilize our camera and make it easier to take sharp photos and videos underwater. Make sure to buy one that is sturdy enough to hold the weight and has a leg length that is comfortable for us to use while diving.
- We need to wear fins if we’re planning on diving in cold water. Wearing fins will help reduce our body’s drag and improve our underwater mobility.
- A snorkel is also good if we dive in cold water. It’ll allow us to breathe underwater and see what’s happening around us.
- To take photos or videos while diving, we’ll need to buy an underwater camera housing. This will protect our camera from water and damage while we’re diving.
Composition Techniques for Underwater Photography
Many composition techniques can be used for underwater photography. One way is to use a wide aperture setting to create a shallow depth of field. This will isolate the subject from the background and make it stand out. Another technique is to use a neutral density filter to reduce the amount of light hitting the sensor, which will help preserve detail in the image.
Some photographers shoot their photos with a fixed-focus lens to keep everything focused. However, this can be difficult if the subject is moving around. Some photographers achieve good results by combining these techniques. Experimentation is vital when shooting underwater.
Buoyancy and Stability in Underwater Photography
Underwater photography is a great way to capture unique and beautiful images of natural aquatic environments. However, buoyancy and stability are essential factors in successful underwater photography. A good balance of buoyancy and stability allows photographers to control their cameras and stay in the environment they are photographing. This is especially important when photographing animals or fish, as they may move around quickly if not kept in check.
Photos taken with unstable cameras can result in blurry images or, even worse, missed opportunities to capture a fantastic photo session. The best way to improve buoyancy and stability is to practice as often as possible. This requires mastery of the camera and remaining steady within the scene.
Another critical factor in successful underwater photography is using a tripod. A tripod stabilizes the camera, which makes it much easier to take stable photos. By practising regularly, we will start to develop an instinct for photographing underwater without struggling with our camera. We’ll also be able to take more confident photos that will result in better images.
Shooting in Different Lighting Conditions
There’s something magical about capturing a scene underwater in beautiful light. Unfortunately, this is a rare occurrence at sea. Instead, most photos of undersea life come from murky waters or in poor light.
A neutral density filter will darken the overall exposure, making it easier to shoot in lowlight conditions. We can buy these filters online or at any camera store. To use one, attach it to the front of the lens before taking the photo.
RAW format captures all the information from the sensor and can give more flexibility when editing the photos later. This format is not recommended for everyday photography but is perfect for capturing detail and highlights in lowlight scenes. Plus, we can constantly adjust exposure and brightness levels after taking the photo.
When shooting in low light conditions, it’s essential to set the camera to manual exposure mode. This way, we can control everything from shutter speed (how long the image is exposed) to the aperture (the size of the opening inside the lens). Experiment with different settings until we find something that yields balanced exposure and creates the results we’re looking for.
We can also use a tripod to take photos of landscapes or wildlife in lowlight conditions. Set the tripod up before the lights fade, so we don’t lose any detail in the shadows. Experimenting with our camera settings is essential for capturing amazing photos no matter what lighting conditions we’re shooting in.
Have Stunning Underwater Photos
As photographers, we all know how difficult it can be to take stunning images while submerged in water. Fortunately, some simple tricks can be used to improve our chances of having quality pictures. By following these tips, we’ll be able to take stunning underwater photos that truly show off the beauty of the ocean world. So what are we waiting for? Grab our camera, and let’s start snapping away!